So You Want to Build a Custom Bike: The Real-World Roadmap for First-Time Builders
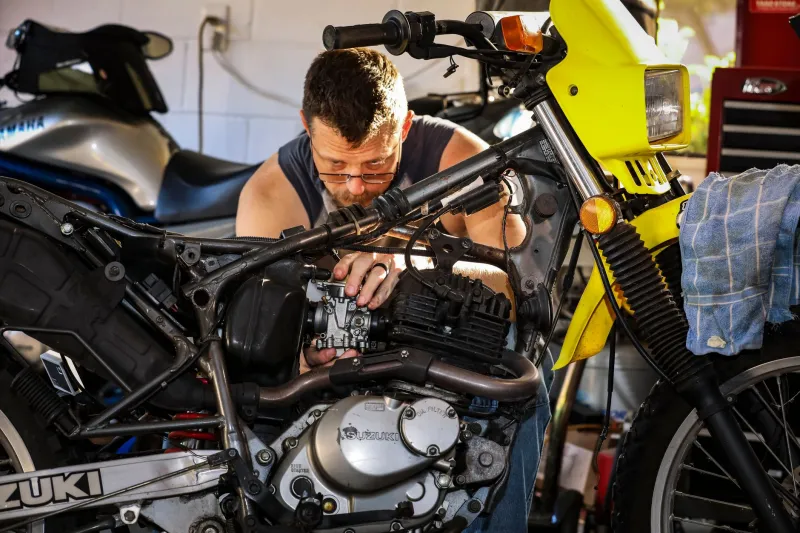
Let's be straight with you right from the jump: building a custom motorcycle is one of the most rewarding things you can do as an enthusiast. It's also slower, more expensive, and more humbling than you're probably imagining right now. That's not a reason to walk away — it's a reason to walk in with your eyes open.
Thousands of first-time builders have gone from zero to a finished, rideable, genuinely one-of-a-kind machine. They all started somewhere. Most of them made the same handful of mistakes. And almost every single one of them would do it again in a heartbeat. This guide is built from their experience — and a few hard lessons from our own garage floors.
Step One: Define What You're Actually Building
Before you touch a single bolt, spend real time figuring out what kind of bike you want on the other end of this process. Not just aesthetically — functionally. Are you building a weekend show piece? A daily rider? Something that splits the difference?
This matters more than most first-timers realize, because it shapes every decision downstream. A bike you want to actually ride regularly needs different geometry, different component choices, and different ergonomics than something you're building to turn heads at shows. Trying to do both equally often means doing neither well.
Spend time looking at finished builds that genuinely excite you. Not just the famous ones — dig into builder Instagram pages, regional show results, forums like The Jockey Journal or Choppertown communities. Figure out what your eye keeps coming back to. Write it down. That document becomes your north star when you're three months in and second-guessing every choice.
Also decide early: are you doing a ground-up build from a bare frame, or are you starting with a complete donor bike and customizing from there? For most first-timers, a donor build is the smarter move. You've got a known starting point, existing geometry, and a platform that already runs. Ground-up is deeply satisfying, but it multiplies both the complexity and the cost significantly.
Step Two: Build a Real Budget (Then Add 30%)
Here's the number one mistake first-time builders make: they build a budget based on optimistic assumptions and then get blindsided by reality. Parts cost more than you think. Fabrication work costs more than you think. Unexpected problems — and there will be unexpected problems — cost money to solve.
A realistic entry-level custom build in today's market, starting from a used donor bike, typically runs somewhere between $5,000 and $15,000 depending on how deep you go. That range is wide because the choices are wide. A tastefully modified vintage Sportster is a very different financial undertaking than a full custom chopper with hand-formed bodywork.
Budget categories to account for:
- Donor bike purchase (factor in inspection costs)
- Parts and components (frame, suspension, wheels, engine work, electrical)
- Fabrication and machine work you can't do yourself
- Finishing (paint, chrome, powder coat — these add up fast)
- Tools you'll need to acquire
- Registration and title work (varies significantly by state)
- Contingency fund — seriously, build this in
Don't forget that some states have specific requirements for registering a custom-built or heavily modified motorcycle. California, for example, has its own set of rules around smog compliance and title transfers. Texas and Florida tend to be more straightforward. Know your state's requirements before you're too far down the road to change course easily.
Step Three: Honest Skills Assessment
This is the conversation nobody wants to have, but it's essential. What can you actually do yourself, and what do you need help with?
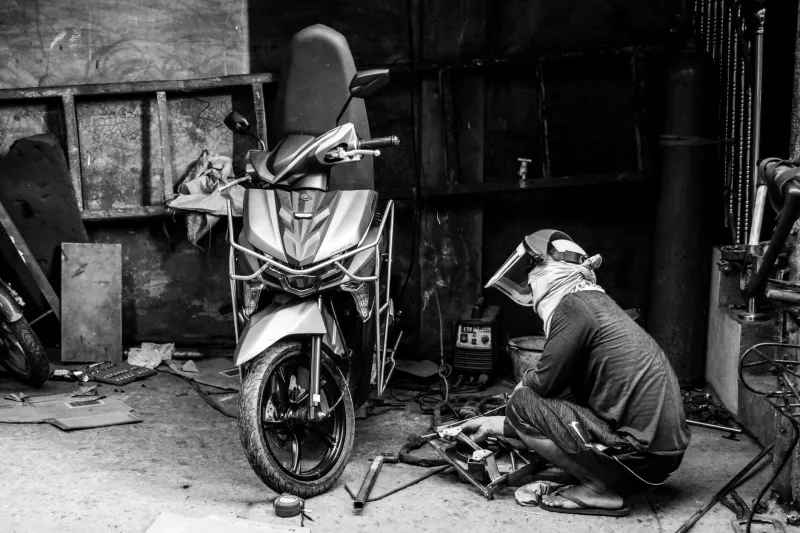
Basic mechanical work — disassembly, reassembly, bolt-on modifications — most enthusiasts can handle with some patience and the right manuals. Engine rebuilds require more experience but are learnable. Welding, tube bending, and metalwork fabrication are genuine skills that take years to develop properly. Electrical systems trip up a lot of first-timers who underestimate their complexity.
Being honest here isn't about limiting your ambition. It's about knowing where to invest your money in professional help versus where to invest your time in learning. A bad weld on a frame isn't just an aesthetic problem — it's a safety issue. There are places in a build where professional expertise isn't optional.
Find a local fabricator or experienced builder who's willing to consult, even if they're not doing the full build for you. Many established shops will offer advice, review your plans, or handle specific tasks while you do the rest. That relationship is worth cultivating early.
Step Four: Source Smart, Not Cheap
Parts sourcing is where first-time builds often go sideways. The temptation is to find the cheapest version of everything — and on some items, that's totally fine. On others, it's a false economy that costs you twice.
For safety-critical components — brakes, suspension, structural hardware — buy quality. Period. This isn't the place to save fifty bucks. For aesthetic items like mirrors, grips, or lighting, the budget options are often perfectly serviceable.
Where to source:
- eBay and Cycle-Ernie for used OEM parts on donor platforms
- Revival Cycles, Lowbrow Customs, and Biltwell for quality aftermarket components
- Local swap meets for vintage parts at real prices (Barber Vintage Festival in Alabama is a great one)
- Facebook Marketplace and Craigslist for donor bikes and raw parts — but inspect carefully
- Specialty suppliers for specific platforms (S&S for Harley powertrains, Cognito Moto for Japanese bikes)
Build relationships with suppliers. If you're buying from a small shop or a specialty vendor, introduce yourself, explain your project. People in this community like helping builders who are genuinely engaged.
Step Five: Set a Realistic Timeline
A first custom build, done thoughtfully, typically takes anywhere from one to three years from concept to completion. That's not a failure timeline — that's a realistic one for someone who has a job, a life, and is learning as they go.
Break the project into phases with loose target dates. Disassembly and assessment. Frame and structural work. Drivetrain. Electrical. Body and finishing. Final assembly and test rides. Having phases helps you track progress and stay motivated even when the whole thing feels overwhelming.
Expect the finishing phase to take longer than you planned. Paint, powder coat, chrome work — these all involve waiting on other people's schedules. Build that time into your expectations.
And give yourself permission to pause. Life happens. Money gets tight. Motivation dips. Every builder hits walls. The ones who finish are the ones who come back to the garage after the pause, not the ones who never paused.
Step Six: Document Everything
Shoot photos constantly. Keep a build journal — even just notes in your phone. Document the problems you solved, the decisions you made, and why you made them.
This serves you in two ways. First, it's an invaluable reference when you need to trace back through decisions during troubleshooting. Second, it becomes the story of the build — something that makes the finished bike genuinely yours in a way that goes beyond the physical object.
When you finally roll that bike out of the garage under its own power for the first time, that documentation is what makes the moment complete. You'll want to remember every single step of how you got there.
Trust us on that one.
The Bottom Line
Building a custom motorcycle is hard. It's expensive. It will test your patience, your budget, and occasionally your relationships with people who don't understand why there's a disassembled engine on the garage floor for the fourth consecutive weekend.
It's also one of the most genuinely satisfying things you can do as someone who loves motorcycles. When you ride something you built with your own hands — something that didn't exist before you made it exist — that feeling doesn't go away.
Start smart. Stay honest with yourself. Find your community. And go build something.